Getting Started
This guide walks you through installing TrueDial from the Salesforce® AppExchange, connecting it to your org via a configured Connected App, and setting your default country so TrueDial knows how to parse phone numbers right out of the box.
Install TrueDial
Section titled “Install TrueDial”To install TrueDial, please visit the Salesforce® AppExchange and follow the provided installation process.
Try TrueDial for 14 daysAssign Permission Sets
Section titled “Assign Permission Sets”TrueDial includes two permission sets that control what each user can do. Assign them based on the user's role:
| Permission Set | Assign To | Grants |
|---|---|---|
| TrueDial Admin | Admin users | Full access to TrueDial, including setup, phone configurations, and bulk validation. |
| TrueDial User | Licenced users | Access to use TrueDial features such as the Phone Assistant on records. |
To assign a permission set, navigate to Setup > Permission Sets, select the permission set, click Manage Assignments then Add Assignments, and choose the relevant users.
Configure Connected App
Section titled “Configure Connected App”In order for TrueDial to provide no-config validation and formatting, we must configure the TrueDial Token connected app.
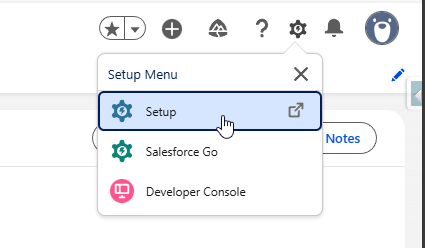
- Navigate to Setup
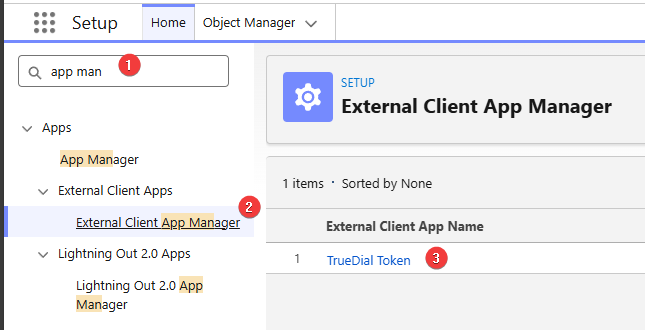
Then, search for External Client App Manager and select TrueDial Token
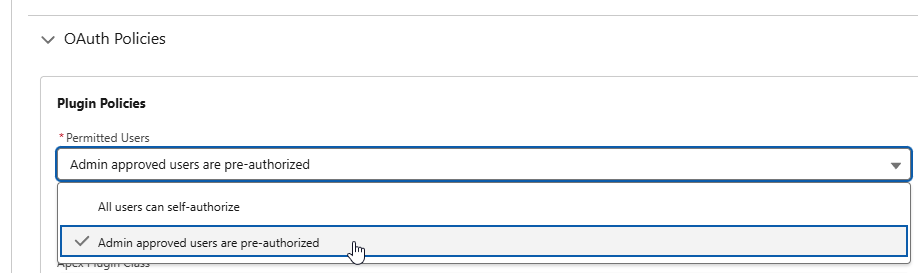
Click Edit, then under OAuth Policies, select Admin approved users are pre-authorized
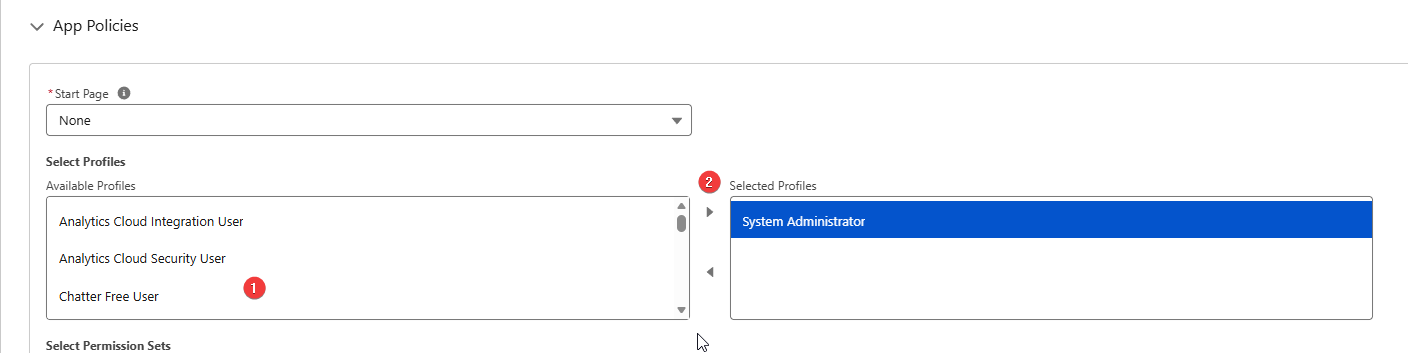
Finally, under App Policies, find System Administrator and move it from Available Profiles, to Selected Profiles
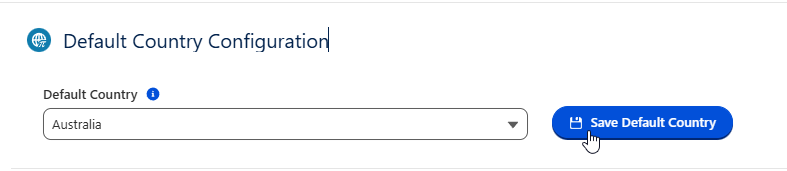
Setup Default Country
Section titled “Setup Default Country”The default country is used by TrueDial as an initial basis for determining what country to parse a phone number against. If your Salesforce® Org only interacts with a single country, or you only need to validate numbers of a single country, you can set the Default Country and this will be used for all configurations. (Though it can be overridden per configuration if needed)
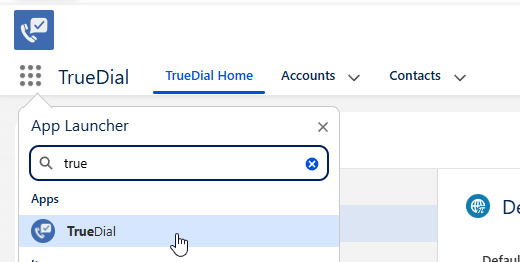
To change the Default Country, Navigate to the TrueDial App
Then, select a country, and click Save.